Crafting a gallery wall can seem a bit overwhelming but let’s break it down with a few easy steps.
Do you have a TON of artwork and are you a bit unsure of what to do with it all? Or maybe you want to fill up a blank wall and are struggling with filling it up in a meaningful way? Have no fear! In my past few apartments, I’ve created a few gallery walls because 1) I have so much art and 2) love to create a cohesive “exhibit” of me and my collection!
Where do I start?
Think of a gallery wall almost as a collage…just with less glue and with a little more space. I have created so many collages from magazines, print-outs, posters, and photos and I always start with a central theme or color – usually both. The easy thing about a gallery wall, is you can remove pieces or swap them out.
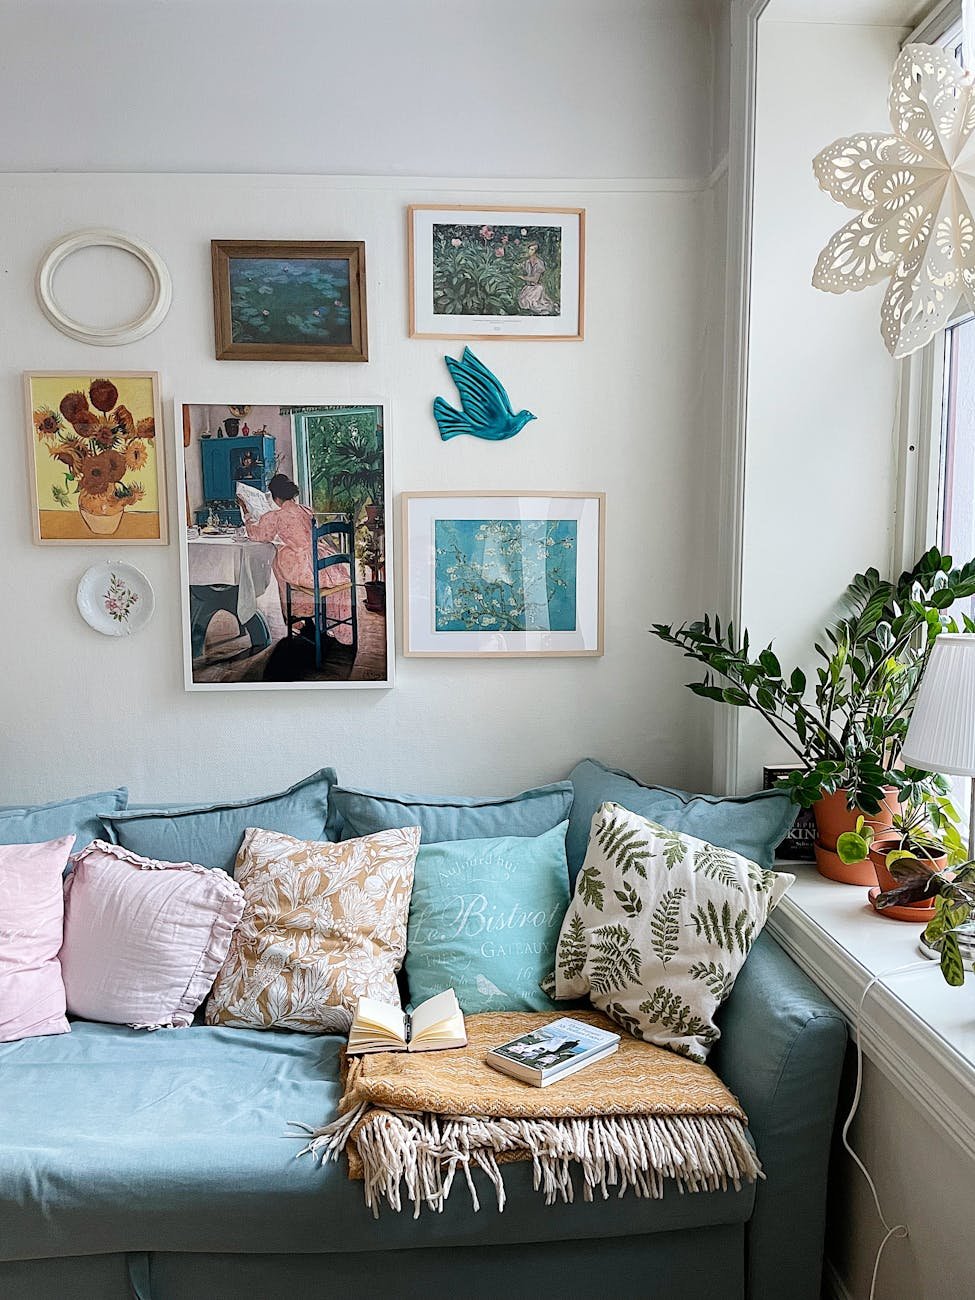
Before even getting to the artwork, think about the wall you want to put this on. What room is it in and what purpose does that space have? I have a small gallery wall in my current dining room / living area. We watch TV here, eat, host, and generally just live in this room. I didn’t want anything too dark or absurdly large but I also didn’t want anything that would clash with our bright teal / turquoise couch. It needed to pull together the room.
The next thing I needed to consider was the wall sizing. For this specific space, the wall is rather narrow – it is between a doorway and a cutout window. In past apartments, I have had wider and shorter walls for my gallery space. Once you know your palette, aka your wall and vibe, you can better decide what should go there. Once you have a better idea of what this gallery wall can fit and its purpose, you can start picking out some pieces to go there!
Some helpful tools for your gallery wall
Before getting started, grab a few things from your toolbox to prep. Don’t worry you probably have a lot of these items:
- Pencil – Make sure you have something to lightly mark where to hang your pieces.
- Level – You will use this to make sure your pieces are straight – if you don’t have a level, you can DIY one, use an app, or have a trusty pal tell you “left, right, ok good!”
- Tape measure – If you are really specific and want items particular spaces from each other, you are gonna need a tape measure or ruler.
- Paper – You may want to draw out where you want different pieces.
- Nails or Command Hooks – I prefer to hang my items with nails and then just fill the holes later when I move, but if you want a renter friendly option, Command Hooks or Strips can work. Just note that if these are up for a long time, they can still rip off paint or strip paper or frames.
Have you gathered your tools? Amazing! Now let’s plan our wall!
Step 1: Pick Colors and Vibes
After evaluating your space, it is time to pick your overall wall vibe and the color schemes. If you have a “cornerstone” piece, how does it make you feel? What are the 3 main colors it has? How big is it? My cornerstone piece is a charcoal drawing I did of a cabbage cross-slice and it is quite large. For this, I have flexibility with the colors, but it is rather dark. To prevent my wall from being too ominous and dark / shadowy, I decided to pair it with other pieces that have more color or at least lighter shadowing. I picked this Jerry Garcia screenprint and partnered it with one of my fiancé’s quirky finds.
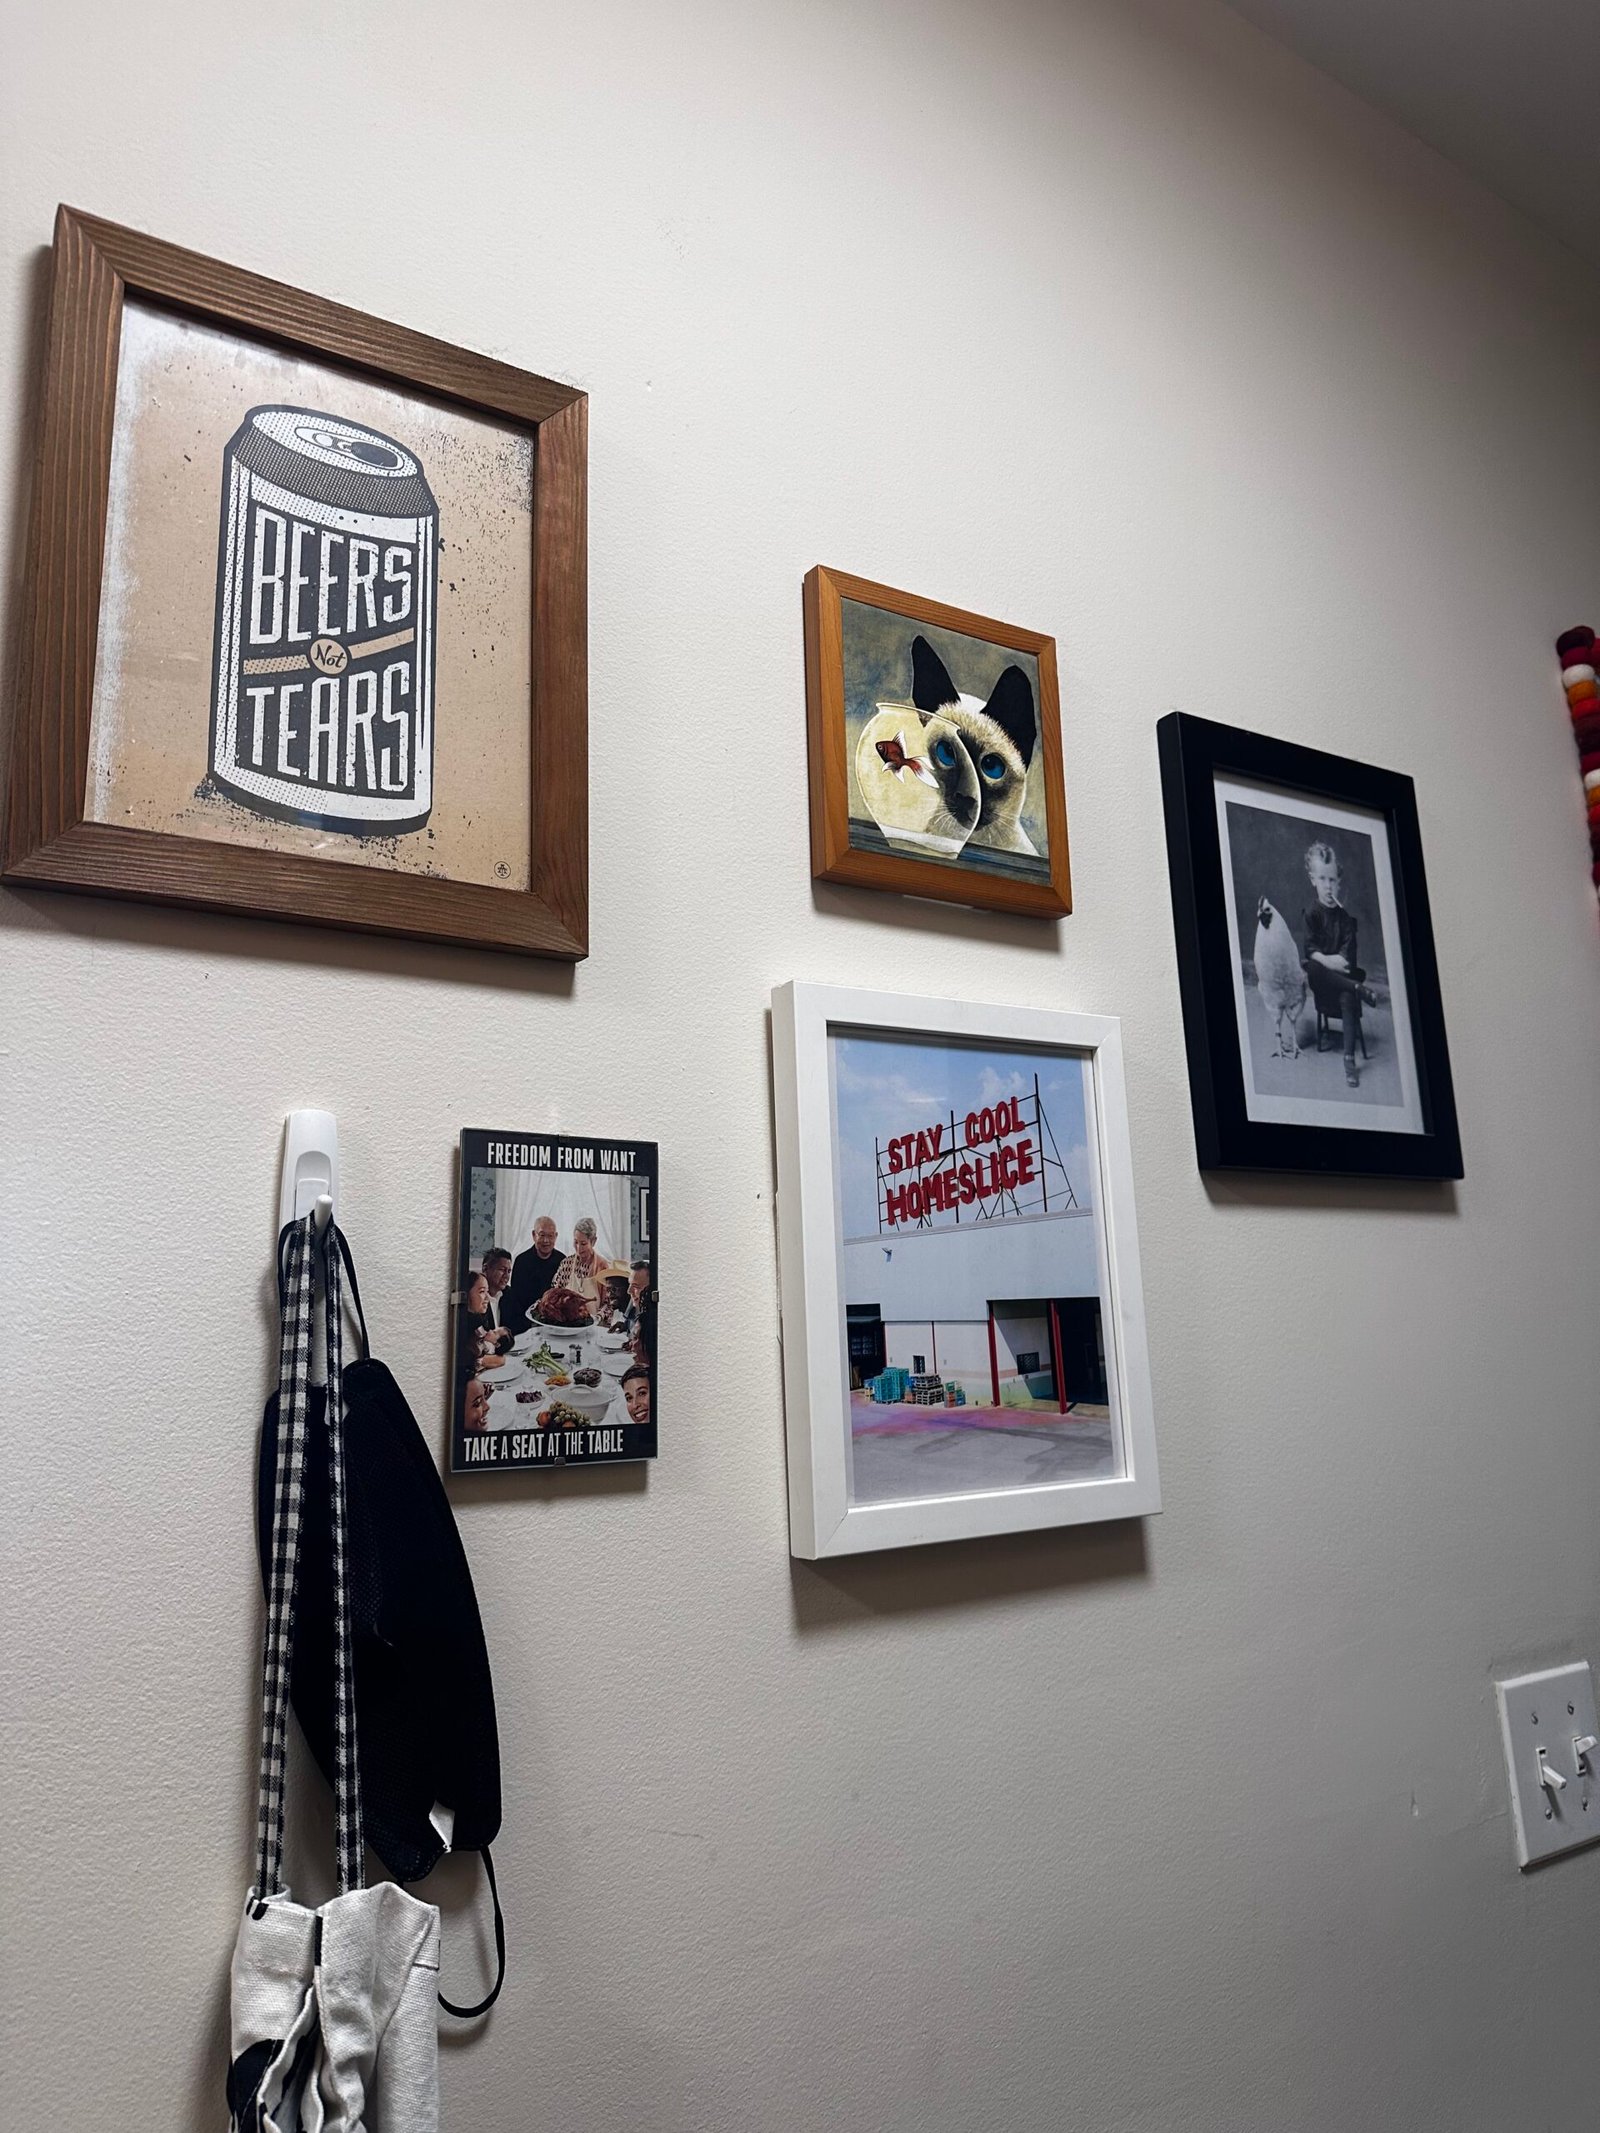
So how did I get this to fit our vibe and our home? We simply picked art we like that matched our preferences. How do you find something unique? Don’t go shopping in a big box store…buy from a small business, go thrifting, make something on your own, or check out a makers’ market. Don’t be afraid of color either! Pick colors that are unique and fun. No need to just go with random pastels or black & white.
I love using my Atlantic Salmon art print as a cornerstone piece. I find that it is bright and airy but unique.

Step 2: Pick sizes and shapes
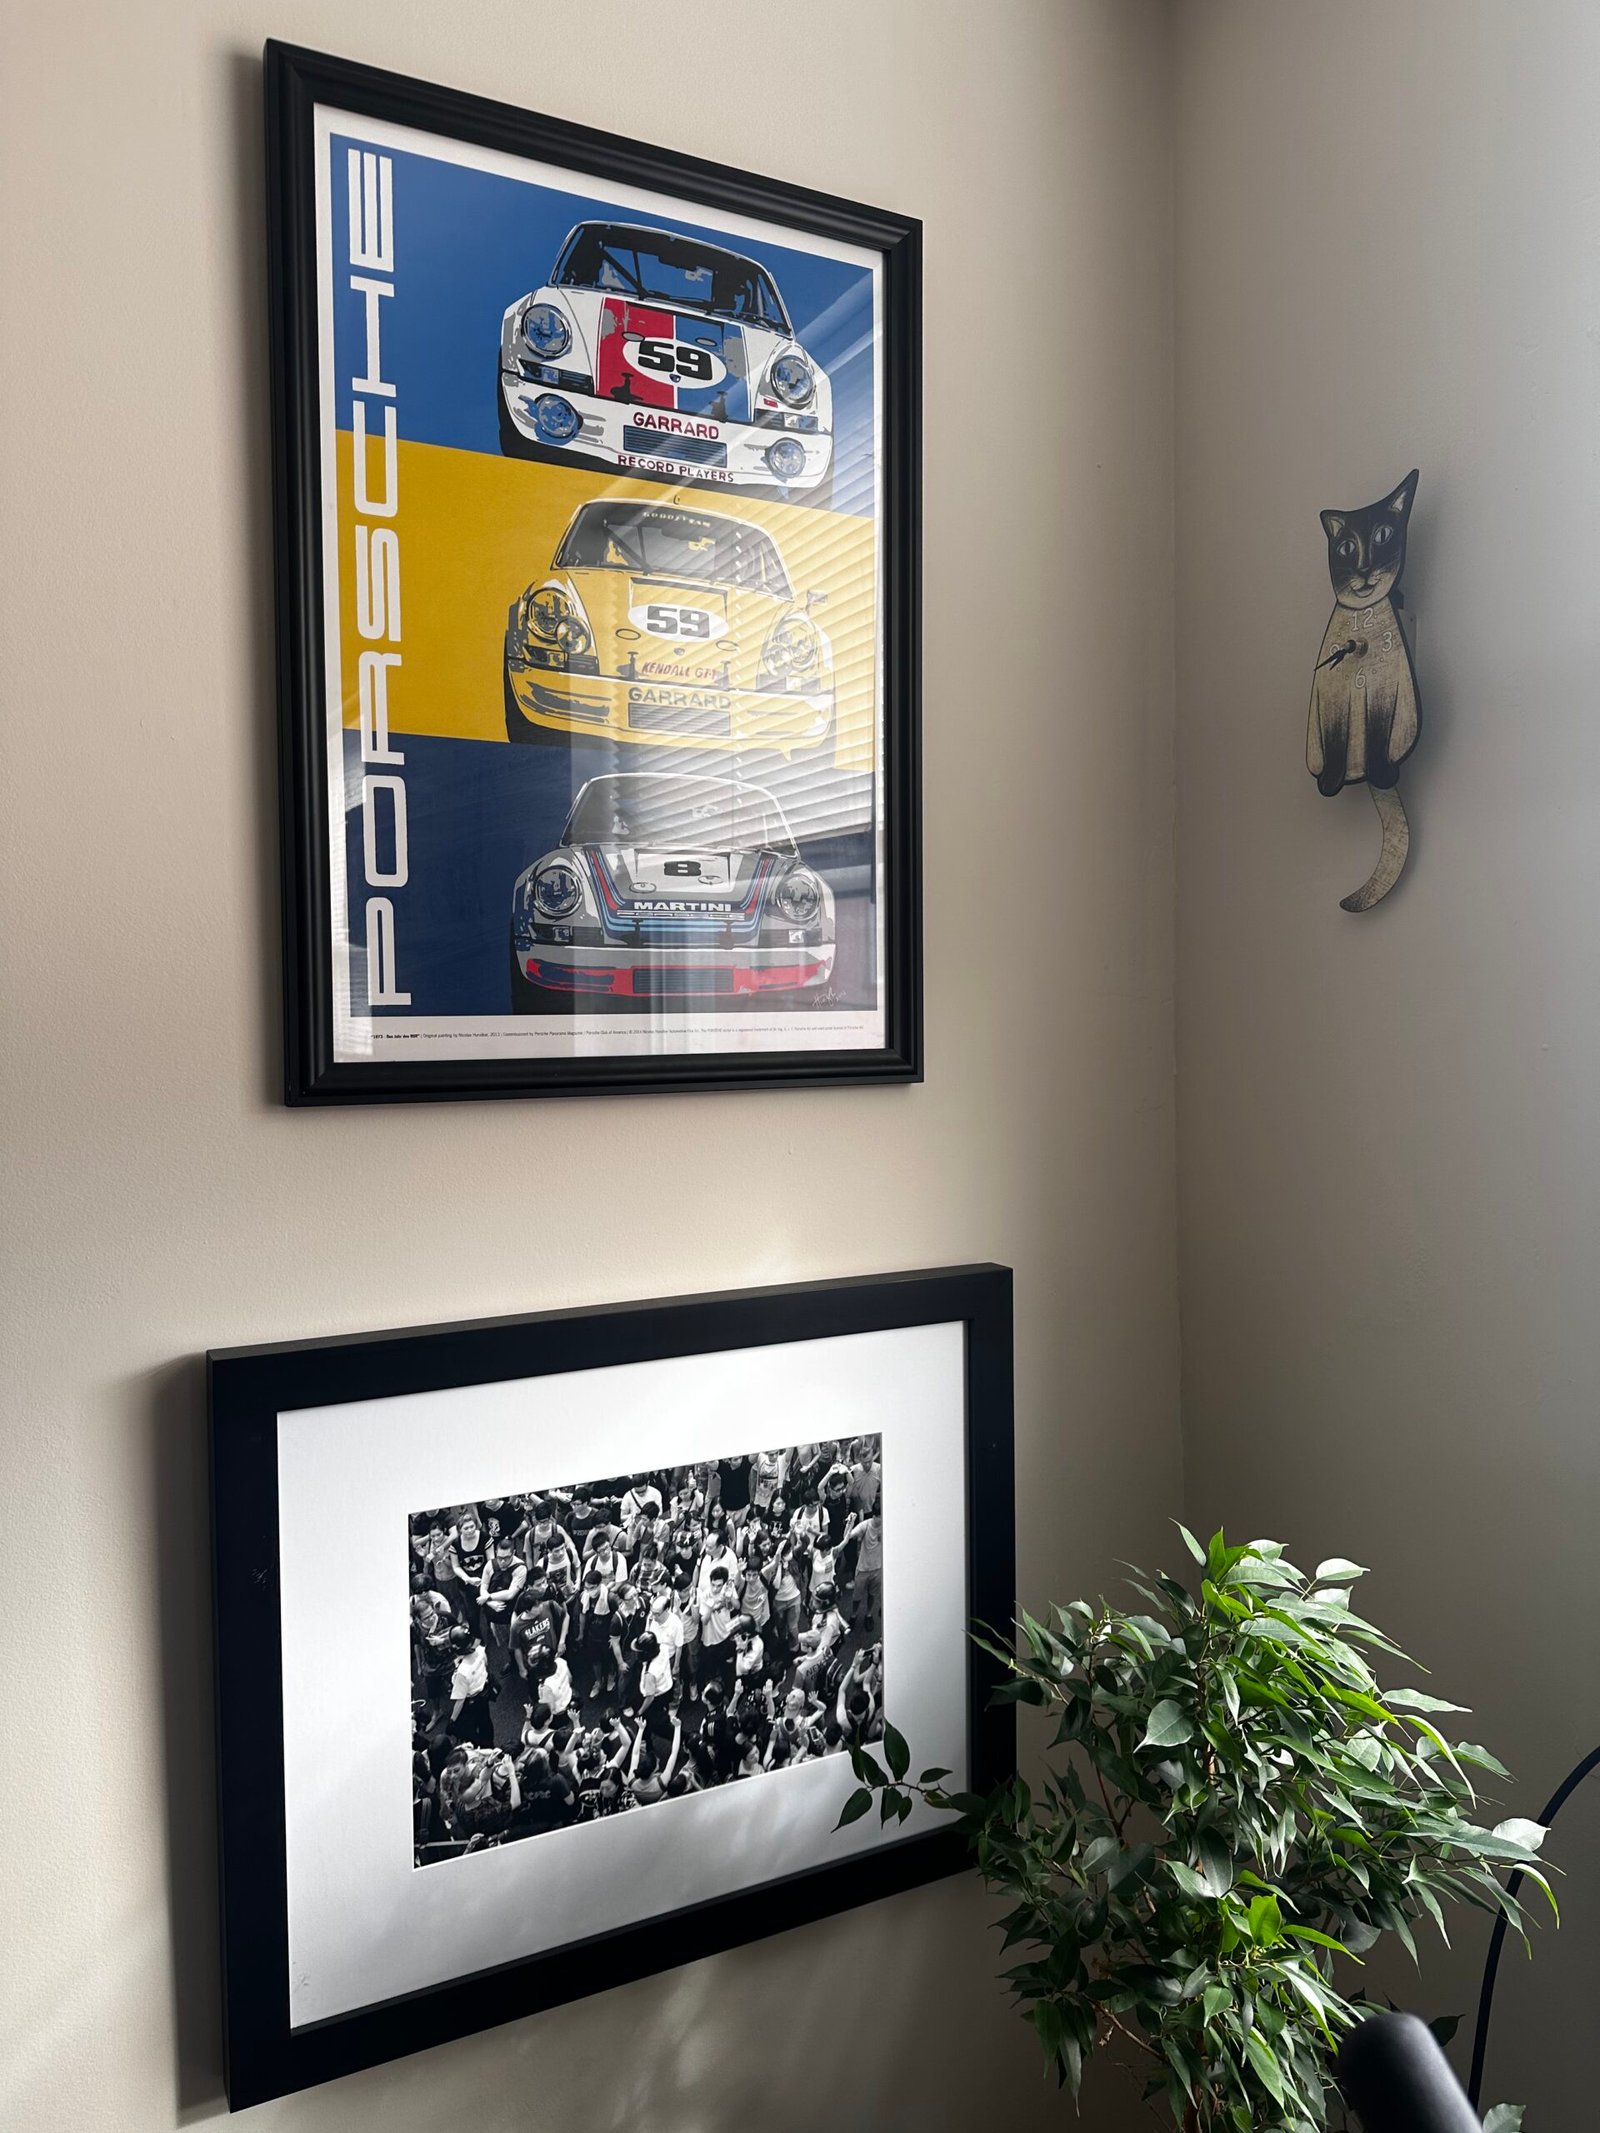
I rarely have created a gallery wall where every single piece is the same size. In fact, I have only done it maybe once. I like the mismatch of different sizes and different shapes, but if you are planning on doing the same size, make sure you buy designs that are the same dimensions. To do a mismatch look, pick one large piece and 3-4 smaller ones. And don’t limit yourself to just squares or rectangles. Look at neon lights, small signs, 3D elements. It is always fun to add in different elements rather than just prints.
Step 3: Lay it out or sketch your layout
I like to lay my wall plan out on my carpet to see how different pieces look together. You can hold the pieces up as well, but this is sometimes hard to do if a piece is quite large. I will try different arrangements, take photos and then decide what I like best. After deciding which layout I like, I sketch it out. I like to have something quick to look at while marking my walls. I will add my measurements here too.
Step 4: Mark your walls
Look at your pieces and see what you need to mark for. How many hooks or nails do you need? make sure you measure the space between the spots on your frames or pieces and mark the wall accordingly. Of course, if you like a ton of random nail holes, just free hand it but…does anyone actually like that? As my dad always says, measure twice and cut (or hammer) once. Use your pencil to lightly mark where you need to put nails or hooks. If needed, use a magic eraser to remove extra marks.
Step 5: Hang and enjoy!
Hang everything up and your gallery wall is ready to enjoy! Remember, you can always change it if something doesn’t work for you. Snap a pic and tag me on Instagram or TikTok (@jupiter.cowgirl) so I can see it ! I cannot wait to see your designs and how your gallery wall brings out your uniqueness.